twitter instagram youtube bloglovin
 photo toppost.png

Sunday, 22 June 2014

Salted Caramel Brownie Whoopies

Had my first go at making caramel this weekend! 
Here was the result: Salted Caramel Brownie Whoopies! YUM!!!!


I used this Donna Hay recipe as a guide.

**BUT**
It's wise to note:

For those poor on time (as we were), I'm all for using a packet brownie mix! Betty Crocker was the choice for this occasion. We simply baked the mix in a thin layer, for half the recommended cooking time to allow for the change in thickness.
Once cooked and cooled, we then took a cookie cutter and went ahead and cut the shapes out, ready for frosting.


Frosting wise, the caramel recipe calls for pouring cream to be used - I think this made the consistency a bit too runny though, so next time I will be using double cream. Still yum however!
TIP: don't overbeat your frosting when it comes to the final steps - it may split!
I would also recommend incorporating the salt into the mix after adding the cream - so it can melt through rather than sprinkle at the end (tastes better!)

Enjoy :)

J x


Monday, 16 June 2014

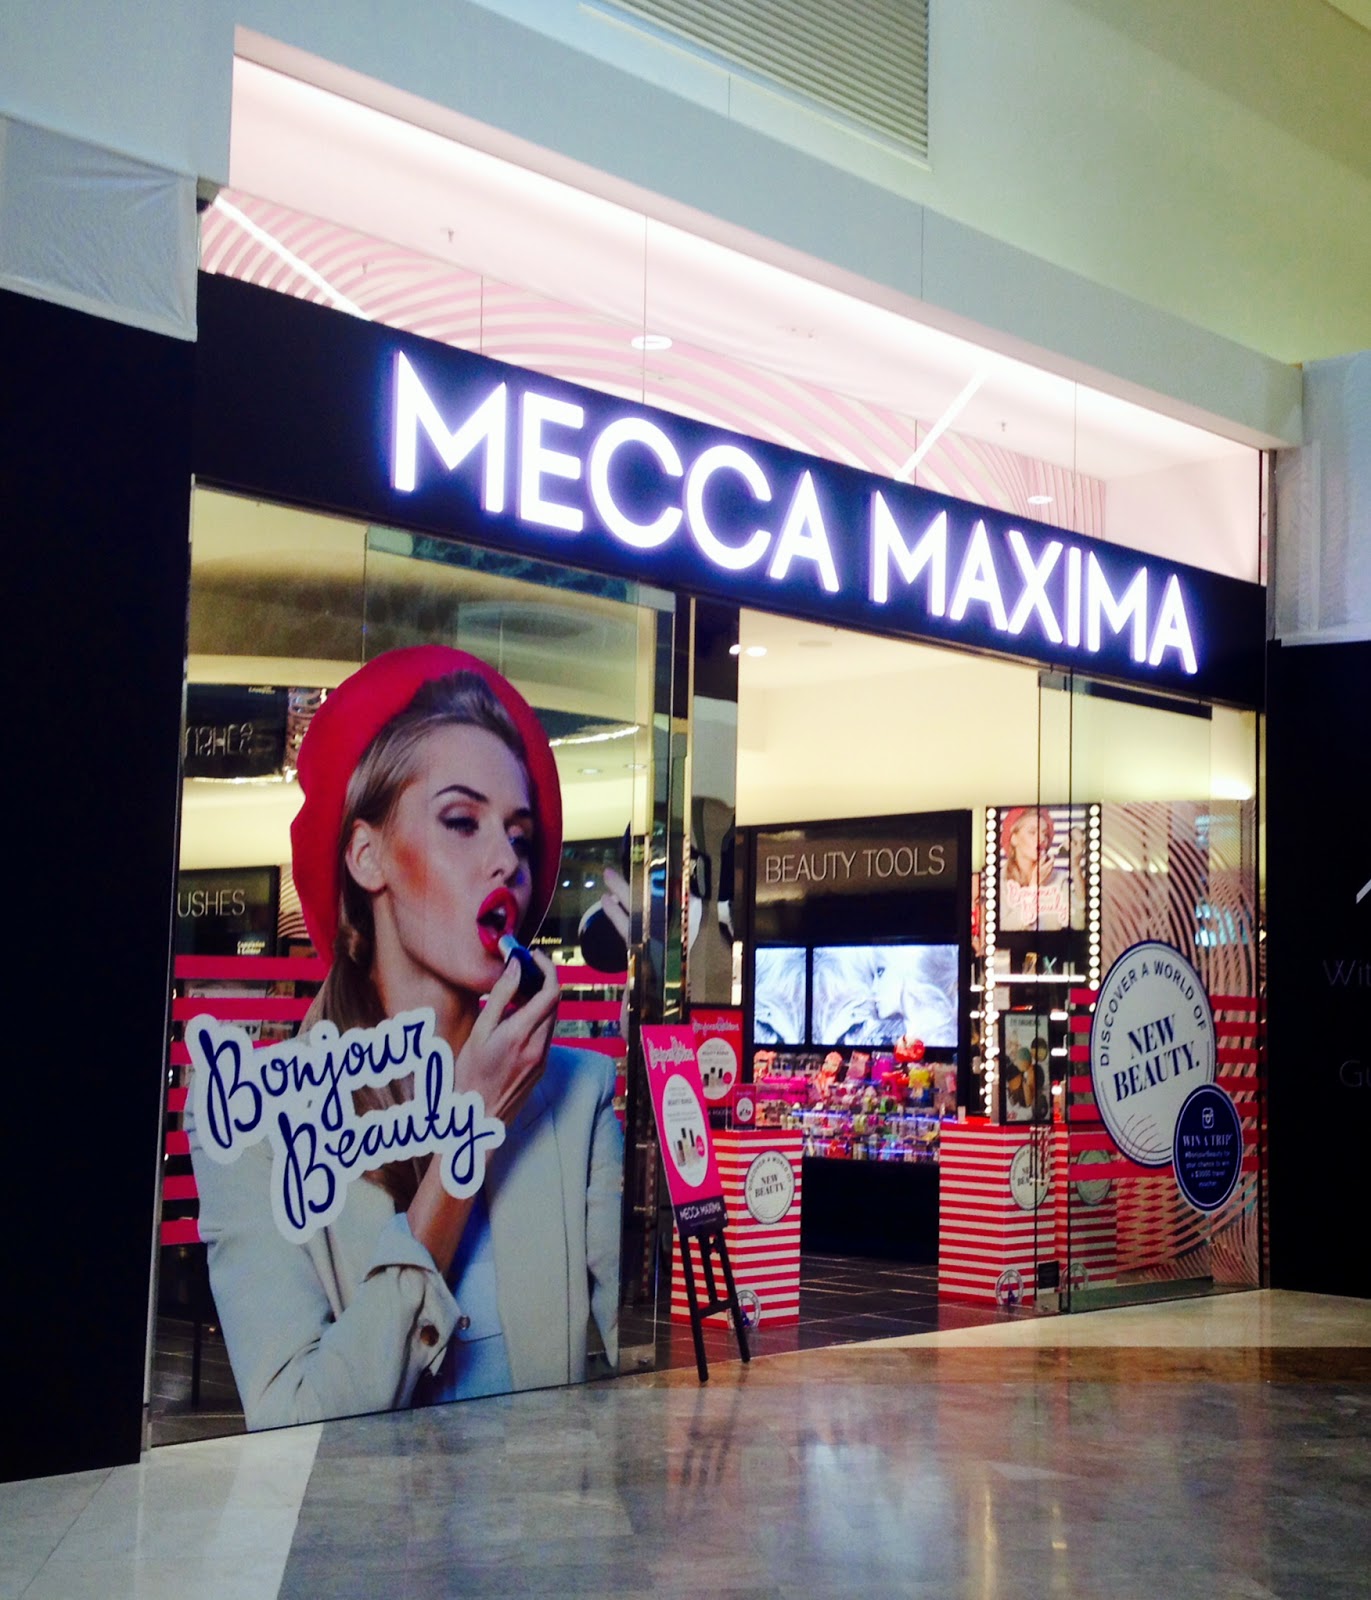
Mecca Maxima Gold Coast

Mecca Maxima opening week, Robina Town Centre, Gold Coast


It's not exactly Sephora, but it's a pretty good substitute until Sephora comes to Australia.

As a Mecca Beauty Loop club member from the former, smaller Mecca Cosmetica, I was treated to a free Nars blush during the Mecca Maxima grand opening week at Robina Town Centre on the Gold Coast.

I got myself a Soap & Glory Hand Food moisturizer (shea butter, macadamia oil and marshmallow) as well, because it smells amazing! Will definitely repurchase! Keen to try some more Soap & Glory products.


Inside this little bag of joy was a mini Nars in Deep Throat (yes, we all know the shock factor of Nars blushes). 
In case you can't imagine the adorable size of this sample product, I've sat it next to the standard sized Nars blush in the picture below. SO cute!!!

Normal Nars blush on the left, and the teeny tiny free sample on the right. Adorable!

A great handbag addition, and fortunately one of my favourite Nars blush colours. Super versatile and great for wear in all sesasons of the year. Pinker in pigmentation to its cousin Orgasm, and a little less shimmer for a more subdued look. Win win!

Thanks Mecca Maxima! You'll see me soon for sure.

J x


Thursday, 13 March 2014

Sally Hansen Salon Effects Nail Polish Strips

These Sally Hansen nail polish strips have been around for a while now, but I received a special request for review from a friend in Adelaide who is looking at purchasing :)
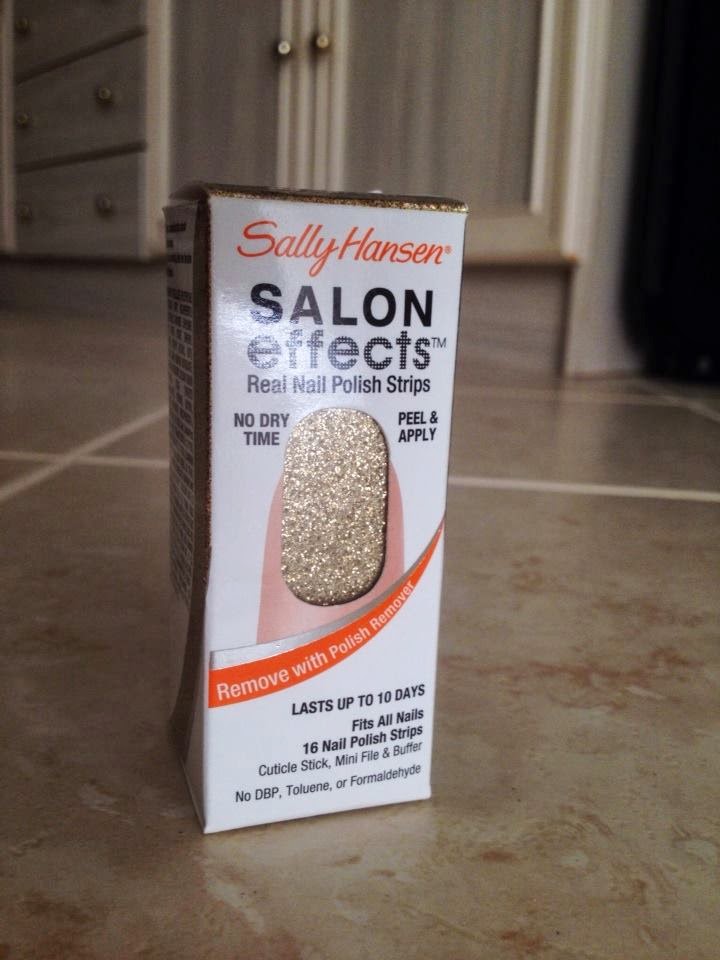
260 Glitz Blitz


Price
At retail these go for $14.95, which personally I think is a bit pricey. For an extra $5.00 you could go to a salon and get a manicure, without the trouble of having to prep your nails yourself.
That said, I've never actually purchased this product at retail price. At sale price, you can pick these up for as little as $10.99 (Chemist Warehouse), or even $7.00 if you're lucky enough to come across a 50% off sale. You just have to know where to look.

Range
There are quite a few different colours and designs available for this range, but I've actually found that different stores stock slightly different variations. Because I do only get them on sale, I tend to purchase more of the original designs and not so much the limited edition/newer lines. I always check out what's new though, so I know what to look for during a sale (ooooh top tip).
There's glitter, florals, prints, patterns. More recently they've come out with a French tip manicure type design, with different coloured tips. You can check out the original collection here. 
This product is available from most stores that stock cosmetics (Target, Kmart, Big W etc), pharmacies, and supermarkets.

Packaging 
This comes in a cute little rectangular box, with a little viewing window that shows the actual colour/design of the polish. This is great, as it gives you the chance to check it out before you buy with an accurate idea of what it will look like.
Inside looks something like this:
16 nail polish strips, a nail file and buff, a cuticle stick, and an instruction sheet.
 The nail strips themselves come in plastic and foil sealed packets. This fulfills the purpose of ensuring the nail polish doesn't dry out until ready for use. I kind of wish this was a re-sealable packaging of some sort, as I don't always use up all 16 polish strips and would like to use them again another time. But alas, it's a one use only type of product.
Again, the nail file and cuticle stick aren't intended for use after the initial application, but I've actually kept a couple in my makeup bag for emergencies.
I won't go too far into instructions, as the sheet outlines everything really clearly. If you do decide to purchase this, it would be really easy to follow and complete with the given instructions.

Product
 The nail polish strips come adhered to a plastic backing, which you peel off ready to stick to your prepped nail. You know these are definitely real nail polish strips from the smell and feel of them, which is quite easily recognisable. So its great to know you're not just using a temporary sticker or decal.
The texture is quite pliable, but delicate. They come in a few different widths and lengths, so you're free to choose what's best for you.

Application &Wear
As mentioned, you can find all instructions on how to apply these inside the packaging. It's quite simple:
Firstly, you are instructed to prep your nails (file, buff, remove cuticle, etc.)
Peel polish strip off the backing, Apply to your prepped nail, and File off the excess polish strip.
If you can't fully reach the edge of your nail with the polish strip, the strip can be stretched slightly with the warmth of your fingers. This has come in handy for me in the past, but you need to work quickly as the polish starts to set onto your nail.
I've also found that using the nail file doesn't always get all of the excess off, so using the cuticle stick provided can also help. 
 Once the polish strips have been applied to all your nails, you're done! It's a pretty quick and easy process and you get the hang of it. Personally, I apply a base coat before I apply the polish strips, and afterwards I apply a top coat to seal it all in. This is, of course, optional and does add drying time to your manicure, but I feel that it makes the mani last a lot longer.
On its own, I've found the polish strips do last at least 1-1.5 weeks, depending on amount of activity you do involving your nails. I suppose this is the same for traditional liquid nail polish as well (eg. it lasts so long as you're not scratching rough surfaces all day long), so I'd confidently say that these nail polish strips are "just like using nail polish" but with zero dry time.
If you use base and top coat as well, I'd give it 1.5-2 weeks of staying power.

Pros
  •  convenience
  • simple application
  • cute designs & time saved from doing nail art yourself
  • no dry time (if you're not using base and top coat)
  • very close to using liquid nail polish, with good quality and similar finish and longevity
Cons
  • pricey if not purchased on sale (though keep in mind you're paying for the convenience factor)
  • still need base and top coat for extended staying power
 Overall
I do enjoy this product and I will continue to purchase it. I think that they're great for those days when you don't have a great deal of time, or you're too lazy to wait for nails to dry.
I also think that there are some cute patterns available that could save you time from painting nail art designs on yourself. Nail art is a hugely time consuming process, so having the luxury of having them pre-made is efficient and, in this case, effective in execution.


I hope that was helpful to you Jassy!

If any of you have any other requests or questions, feel free to Email, Instagram, or Tweet me your ideas!
J xx

Thursday, 27 February 2014

Fingr'rs Nail Makeup Review

I was fortunate enough to be sent a few nail products by the kind people at Fing'rs Australia via a social networking competition (yay, thank you!).

These goodies arrived for me promptly, and needless to say I was excited! I am a self confessed nail product addict and I love delving into anything fun and creative to make life a little more interesting in the nail department.
This afternoon I decided to change things up on my tired, chipped, post-holiday polish and give the brightest, most eye-catching Fing'rs product in my stash a go.


Introducing Fing'rs Nail Makeup.
22 ready to stick, pre-designed decals, that according to Fing'rs makes it "easy to swap out and change your designs instantly". 
These babies retail at $9.99 AUD.


The first thing you need to be aware of is that these are decals. In other words, stickers, designed for temporary wear and easy removal. So you aren't going to get the same result as using a nail polish strip or transfer (eg. Sally Hansen or Revlon).

Regardless, I found the stickers to be made of quite a durable material that I am guessing will probably last longer than expected. So kudos in the durability department!
The design that I received is called Hollywood and I love it! But if you aren't pink-crazy like me, they do have quite a few others to select from.

Application was easy enough, very similar to the application you would need to do for a nail polish strip (peel strip off, place onto nail, file excess off).
 As well as being durable however, being made from plastic rather than polish does have its limitations, and I found this to be the case during application - there is hardly any room for adjustment (eg. stretching out the strip like you can with polish strips) and filing the ends off was kinda tricky. 

Overall, I would say these are a cute and fun way to brighten up those fingertips of yours, but don't be expecting the same quality and result as a nail polish strip. Nail polish strips seem easier to work with to me, last a couple of weeks, and have a more professional finish.
For what they are though (a temporary and removable sticker decal), they do a great job and I expect it to last at least 2 days which is pretty good if that's what you're after.
I would probably recommend these to parents as a gift for younger girls who are just beginning to take interest into beauty and nail products. These Nail Makeup strips are just as bright and colourful, take less time to apply than liquid polish + no dry time, they look just about the same as polish, but you have the freedom to simply peel off  if a change is wanted or boredom occurs (and what tween doesn't want constant change and excitement these days?).

I would purchase these again, mostly because I'd love to try out a couple more of the cute designs available. I think these would be great to use on accent nails as well, because they're so easy to apply and give that little something extra to your manicure.
If you would like more information on the fantastic work Fing'rs are doing to encourage us all to beautify our nails, then head on over HERE.


Fing'rs Nail Makeup - great end result


J xx

Wednesday, 12 February 2014

Mini Shopping Haul and Elf Cosmetics Arrives At Kmart!


Firstly, can I just say how irritating iPhone's have become since the iOS 7?
I am included in the pool of people with a long and growing list of problems ever since the update. No sound from the speaker, woke up one morning with all my contacts deleted, and the latest - WiFi no longer functions on my iPhone 4S. If you're having these problems too, let me know!

This all leads me to the fact that yesterday, I was trying to conserve as much Optus data as I could, as without WiFi I am going through my data FAST. 

In my new-found state of pure iPhone data stingey-ness, I was apprehensively about to turn off my Cellular Data usage. No internet for a week. No Facebook, Twitter, Instagram, Email, Safari, Uno With Friends.... Scary. But absolutely needed if I didn't want to have a massive phone bill (This dramatic tragedy was almost going to be made into a blog post, but it didn't eventuate. See why below).

Finger on the Off toggle button, I saw that my sister mentioned me in an Instagram post. Just this once, I thought. I'll switch the internet off straight after, I told myself.  (**Side Note** no one will be shocked to know that this lasted a mere ONE day. It is amazing how much we rely on the internet on our phones! I couldn't believe it how weird it felt. Optus gave me a $10 1gb top-up of data for two weeks. Insert sigh of relief. Resumed use of Cellular Data immediately, and tragedy over).

The Instagram picture was a Kmart somewhere in Australia which stocked Elf Cosmetics! I had no idea that Elf was coming into Kmart. I think it was briefly at Target (same as in the US), but they stopped stocking it in Australia. Either way I'm glad it's back.
A lot of the beauty community are aware of Elf, but us Aussies have trouble getting a hold of it except online or overseas. In no way is Elf a high end brand, but from what I have seen and heard, it is great value and pretty good quality for the price.
V, The sister mentioned above, brought back an Elf eyeliner & lipgloss from the US a few months ago for me. I plan to do a US Make-Up Review in a new blog post soon, so keep your eyes peeled (Elf and Urban Decay). I'd say I was pretty happy with both products, not my absolute favourites, but if you're after some decent stuff at an affordable price, Elf is great. Really excited to get my hands on the products and review them!


Elf shelves empty at Kmart

Obviously I had to go and see this for myself, so I went to my local Kmart. Sadly, no stock as of yet, but the shelves were ready to be stocked and had the Elf labels everywhere. I went and asked an employee and she said that it would probably all be shelved by the weekend. My store is in QLD so you may want to check with your local Kmart and find out when/if you will get stock.

Anyway, with no Elf products in hand, I went out and searched for a few things I needed.
Here's my mini haul from today, I managed to get a couple of bargains!


Picked up this cute floral print playsuit / jumpsuit from Myer. I had a $20.00 voucher from Myer One rewards, plus it was reduced to $45.00. Then it was a further 30% off already reduced prices!!! 
I will be going away to Hervey Bay in two weeks for a belated Valentines getaway. So I thought this would go nicely with the location, lazy beach days and casual poolside relaxation.
Store: Myer
Original Price: $80.00
Total Paid: $11.50
Brand: Quirky Circus


IN LOVE with these coral pink sunglasses! Have been looking around for an affordable pair for a few months now. I already have two pairs of standard sunnies, so I didn't want to overspend with these ones, just love the idea of something bright in the Summer and Spring, and I can't go past pink.
These were on sale 50% off. Love me a bargain! Luckily they're also a category 3 lens protection, so definitely bringing these on my mini holiday for beach/poolside eye protection ;)
Store: City Beach
Original Price: $20.00
Total Paid: $10.00
Brand: Karyn In LA


The pens!! Ooooh the pens. I want to be a bit more organised with things at the moment, so I'm using my daily planner a lot more. I wanted a practical pen that was able to do what it needs to do, but something cute and not boring!
Enter White Rabbit Pen and Pencil Pen. 
Store/Brand: Typo
White Rabbit Pen: $3.95
Pencil Pen: $1.95


Pencil Pen is shaped (yep you guessed it) like a pencil, but inside it is a pearly/shimmery pink pen.
White Rabbit Pen's ears can both be pushed down, revealing either a black or blue pen. I love how adorable this is, but I also love that it is a dual colour pen that I can switch between when writing.
Uncapped and Pushed into action!


So that is it for today, I managed to pick up some really good items. Nothing too crazy but all were needed :)

Stay tuned for a blog post from my Hervey Bay Getaway Weekend, the US Make-Up review and many more things to come!

J xx


Tuesday, 4 February 2014

Oreo Cheesecake Truffle Balls


I never resist chocolate, and if I ever do, you know that something is wrong.


Good enough for me!
Source: Google


I came across the picture above a couple of days ago and I couldn't help but laugh! Any excuse will do when it comes to chocolate! In moderation... plus extra ;)

Every chocolate lover has a favourite, and I thought I'd share a recipe that has become highly requested from me by friends/family/colleagues over the last couple of years, involving a world-wide favourite: OREOS!!!
I was so excited to find this recipe for Oreo Truffle Balls online. Over a couple of years, I have tweaked it to my own preferences, but it is seriously so easy to make that you could add/deduct whatever you want and it would probably still taste as good. The next time I make them, I'd like to experiment with textures a bit more (e.g. add some bigger chunks of oreo into the batter), but for now, enjoy my current recipe!

Let me know if you give it a go, and if your alterations were a hit or miss :)


My Oreo Cheesecake Truffle Balls 


INGREDIENTS

2x 150g packet of Oreos
250g of cream cheese (I use Philadelphia)
Dark/White/Milk chocolate for topping or
Desiccated coconut


METHOD

- Crush Oreos (you do not need to take the cream filling out, use all of it) in a food processor until it comes out as crumbs  
- Soften cream cheese and combine with crushed Oreos using mixer (make sure cheese is softened, otherwise it's harder to mix together)
- Take portions of the combined mixture and roll into balls (these balls are pretty rich so bite sized is best, probably just a bit bigger than a Malteser would do)
- Place balls on a baking paper or aluminium foil-lined tray and put into the fridge for an hour or so
- Melt whichever chocolate you chose as topping, and dip the balls in (use toothpicks to make it easier). If you want an extra design, after dipping in the first chocolate, put the balls back in the fridge for 15mins to set. Then melt white chocolate or an alternating coloured chocolate, and use a fork to create a streaky decoration
For coconut covered ones, you do not need to put balls in fridge for an hour first - just simply roll them in coconut straight after rolling into balls
- Once you are happy with the design, put it all in the fridge for another hour or overnight to ensure they are set

ENJOY!!!


J xx

Friday, 13 September 2013

DIY Fix For Broken Makeup

There you are, going about your business and daily makeup routine, when you look down and see the dreaded....


You've hit pan!!! Noooooooo. Nearly time to head back to MAC and grab another of those bad boys. Seems simple right? Wrong. This happens a day later...


Cracked beyond repair - but fear not! Here's my tip and what I did to salvage my Select Sheer MAC Pressed Powder.

There are a few quick fixes floating around the internet on saving your broken makeup, so this isn't a new concept. Probably lucky for me since I wouldn't have continued using the powder and it seems such a waste since MAC products can become quite pricey. 

One tip suggested to melt the powder into a bit of alcohol and re-set it into the pan. I don't quite remember why I didn't try this, but I think I would be a bit skeptical on the quality of the product after re-setting and also adding a harsh alcohol to it (also probably couldn't be bothered to look for alcohol & wait the drying time). But if you have tried it and it worked well for you, I'd love to know so I can try it in future.

Personally, I decided to place the loose powder in an empty sandwich zip-lock bag, grab the end of my hair brush, and crush all the powder until it was very fine. It ends up looking like a mineral powder but slightly denser. Place all the powder into an empty container (I stole mine from my sister but I know you can purchase these at chemists or post offices in the travel section, if you're living in Australia. I'm sure you can get them at similar places worldwide, just ask your sales assistant).

And there you go! All better. I run a kabuki through the powder just because my powder brush is a bit too big to fit into the container, but I assume the kabuki can also distribute it better as it is now a loose powder. Just be sure to tap off any excess before applying to your face and you're good to go.

Hope this has helped some of you who are stumped at what to do with broken makeup, and remember it could apply to any broken powder, whether it be setting powder, eyeshadow, blush, bronzer, etc.

Below is the finished product :) 

J xx


 photo envye.jpg
envye blogger theme